In order to intercept encrypted communication we need to reroute it via proxy, similarly to man in the middle attack. First, we are going to install mitmproxy. There are few ways to install it, but let’s do it manually. Download the latest release from GitHub and copy it into /usr/local/bin/ directory.
wojtek@MacBook:~$ ls ~/Downloads/mitmproxy-2.0.2-osx/
mitmdump  mitmproxy mitmweb
wojtek@MacBook:~$ cp ~/Downloads/mitmproxy-2.0.2-osx/* /usr/local/bin/
wojtek@MacBook:~$ ls -l /usr/local/bin/ | grep mitm
-rwxr-xr-x@ 1 wojtek  staff  10477545 Feb 21 20:27 mitmdump
-rwxr-xr-x@ 1 wojtek  staff  10774075 Feb 21 20:27 mitmproxy
-rwxr-xr-x@ 1 wojtek  staff  11352485 Feb 21 20:27 mitmweb
Run mitmproxy and make it listen on port 8080.
wojtek@MacBook:~$ mitmproxy --port 8080
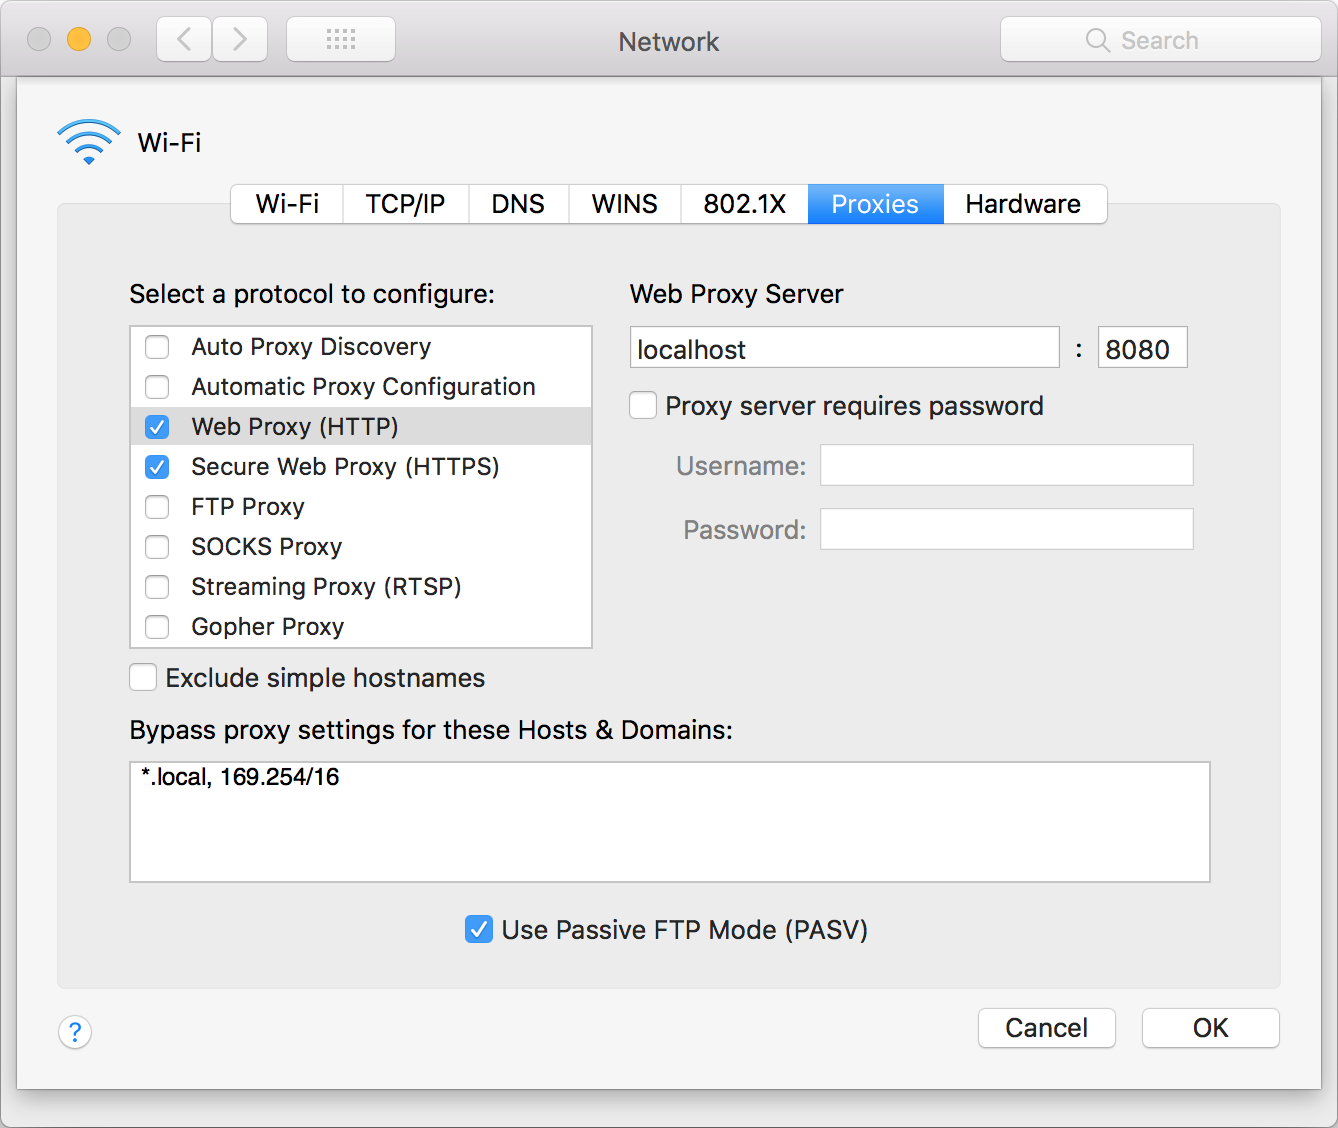
Next, redirect all the HTTP and HTTPS traffic to localhost:8080.
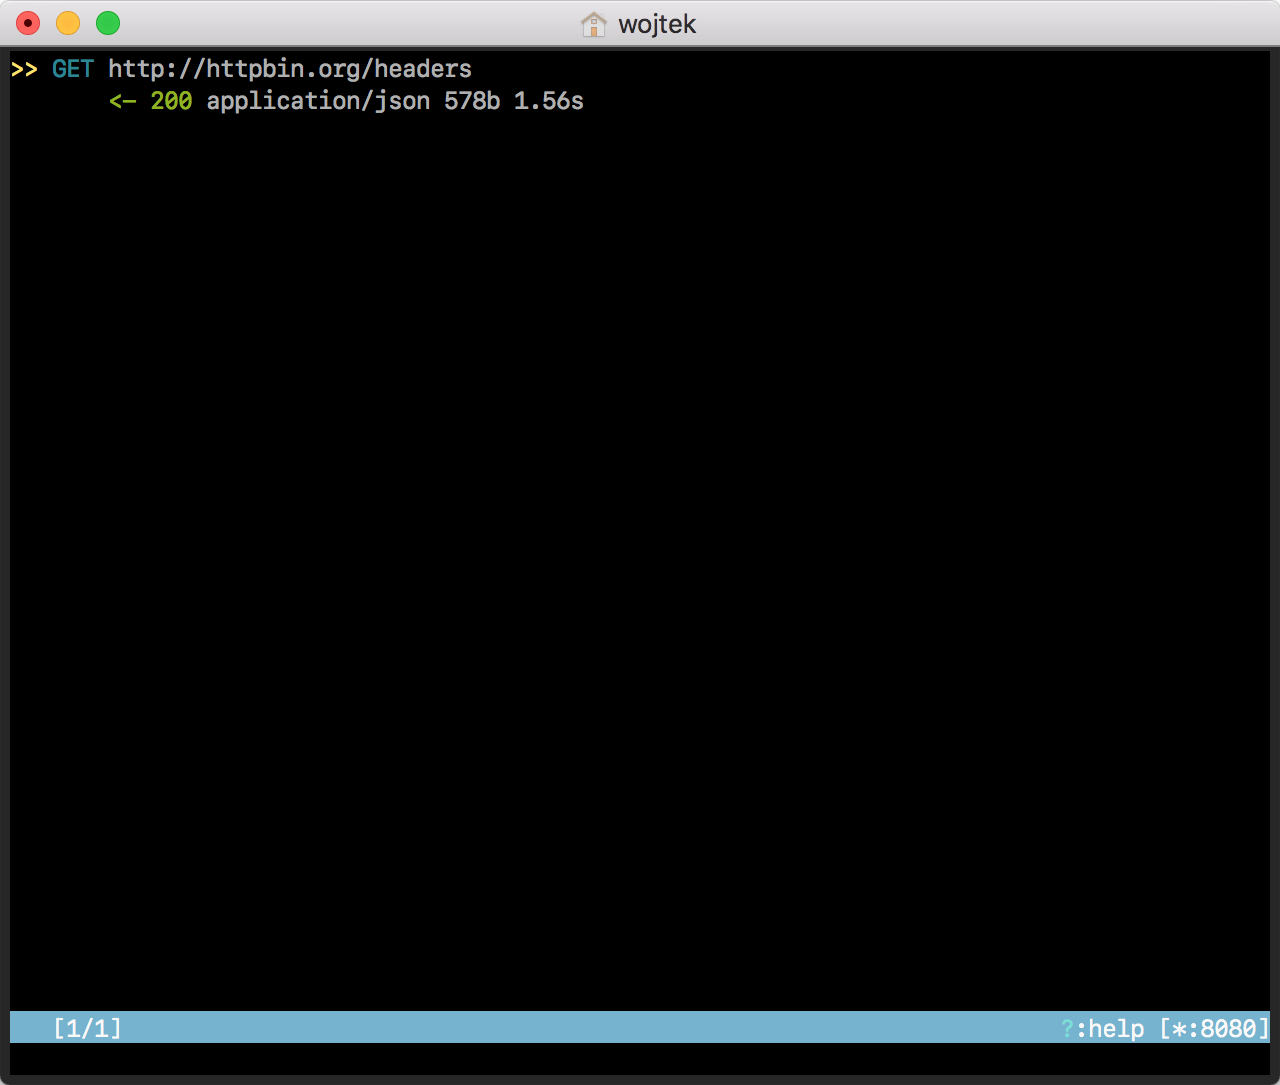
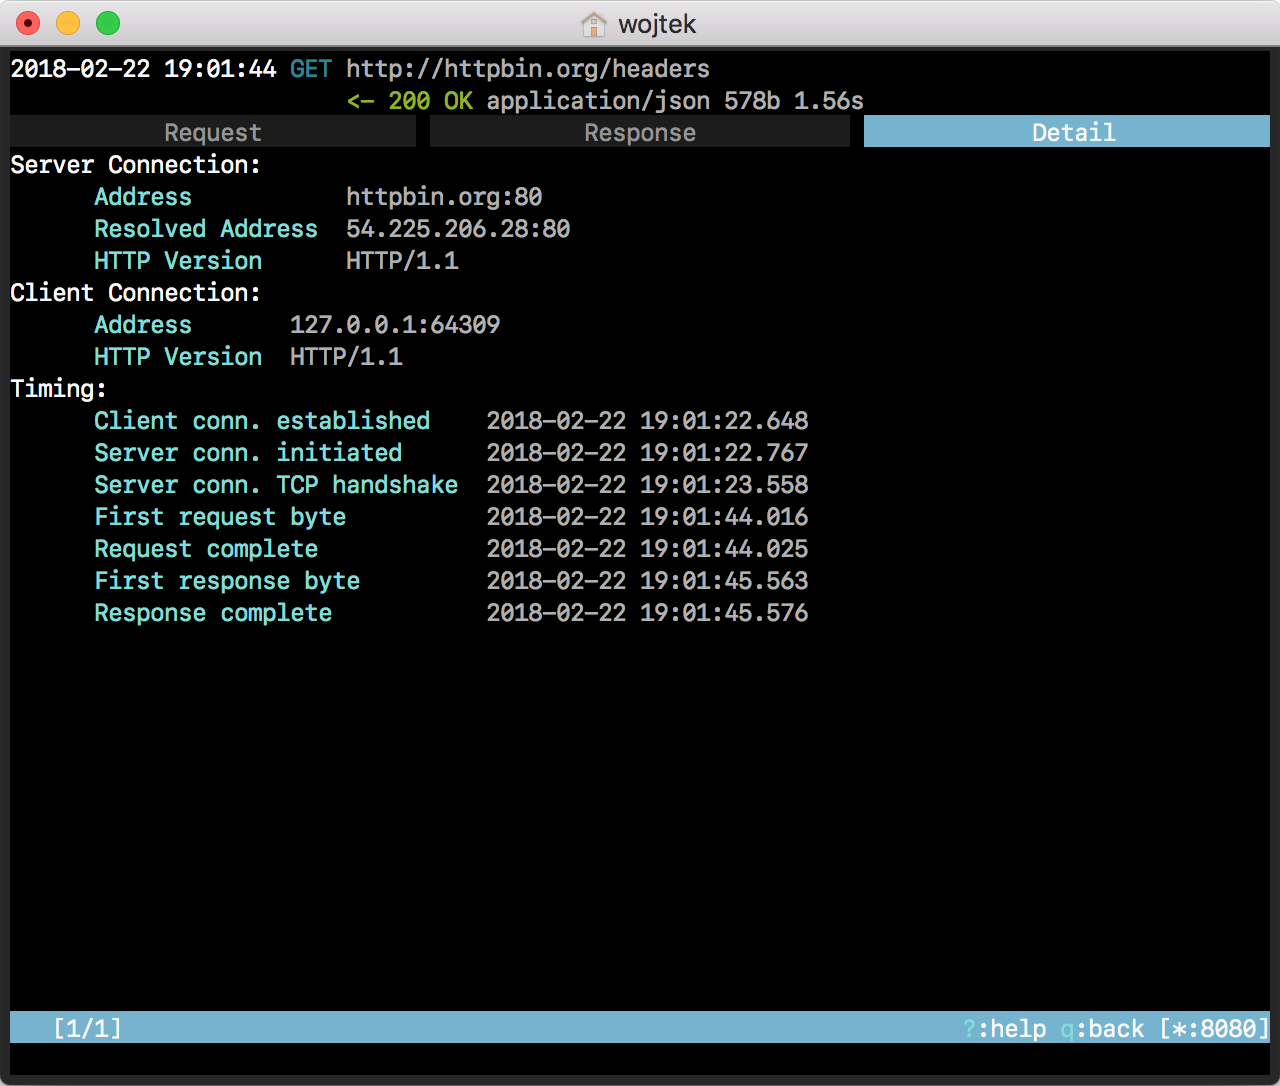
Open safari and connect to a server via HTTP, for example http://httpbin.org/headers. Request and response will get listed by mimtproxy.
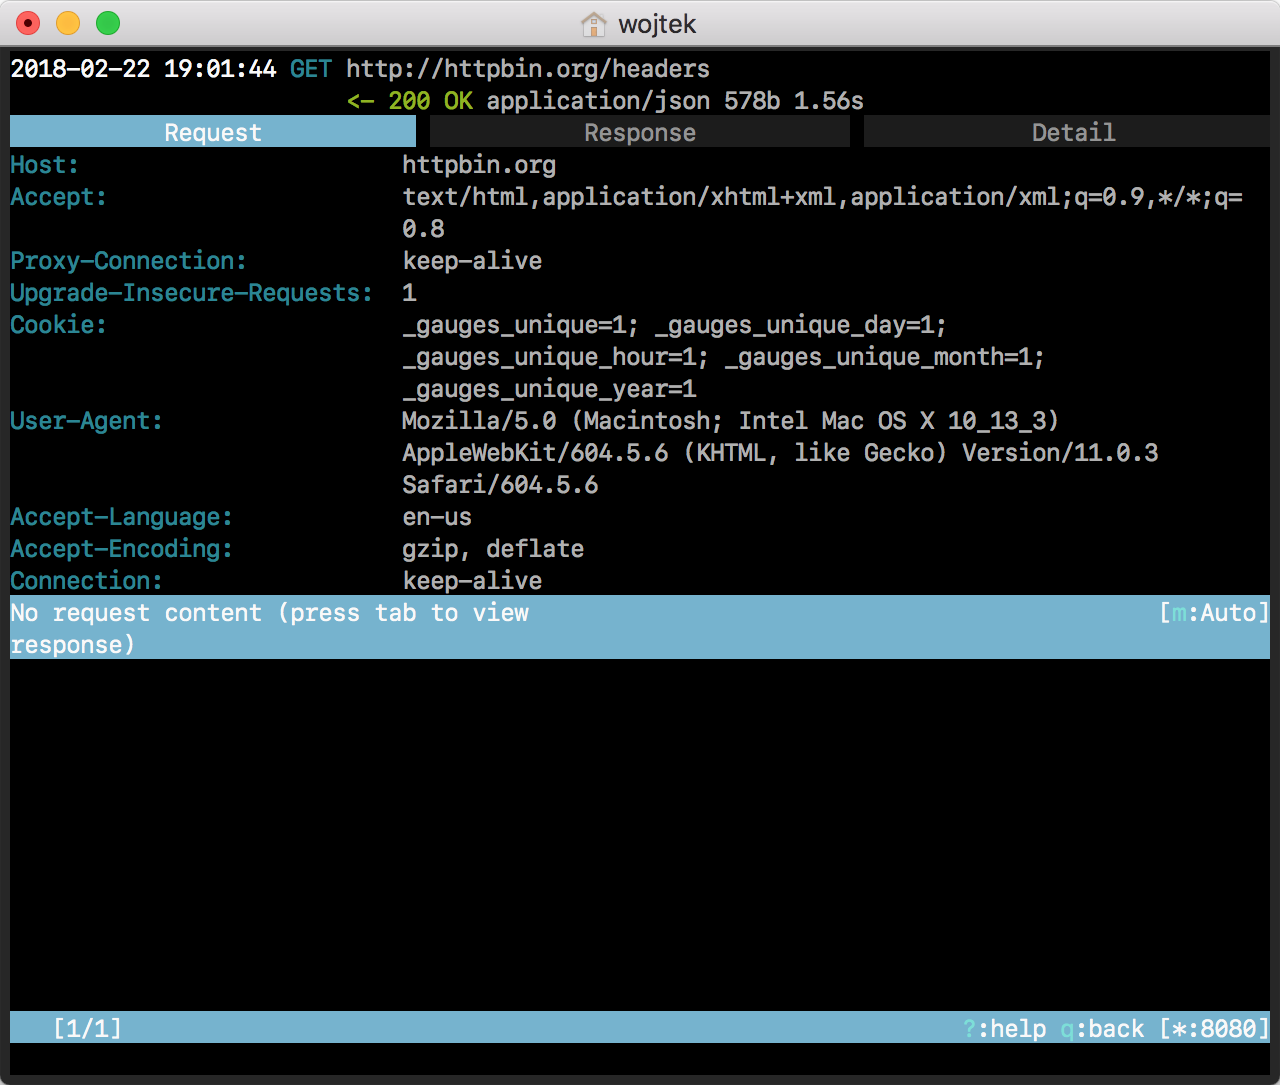
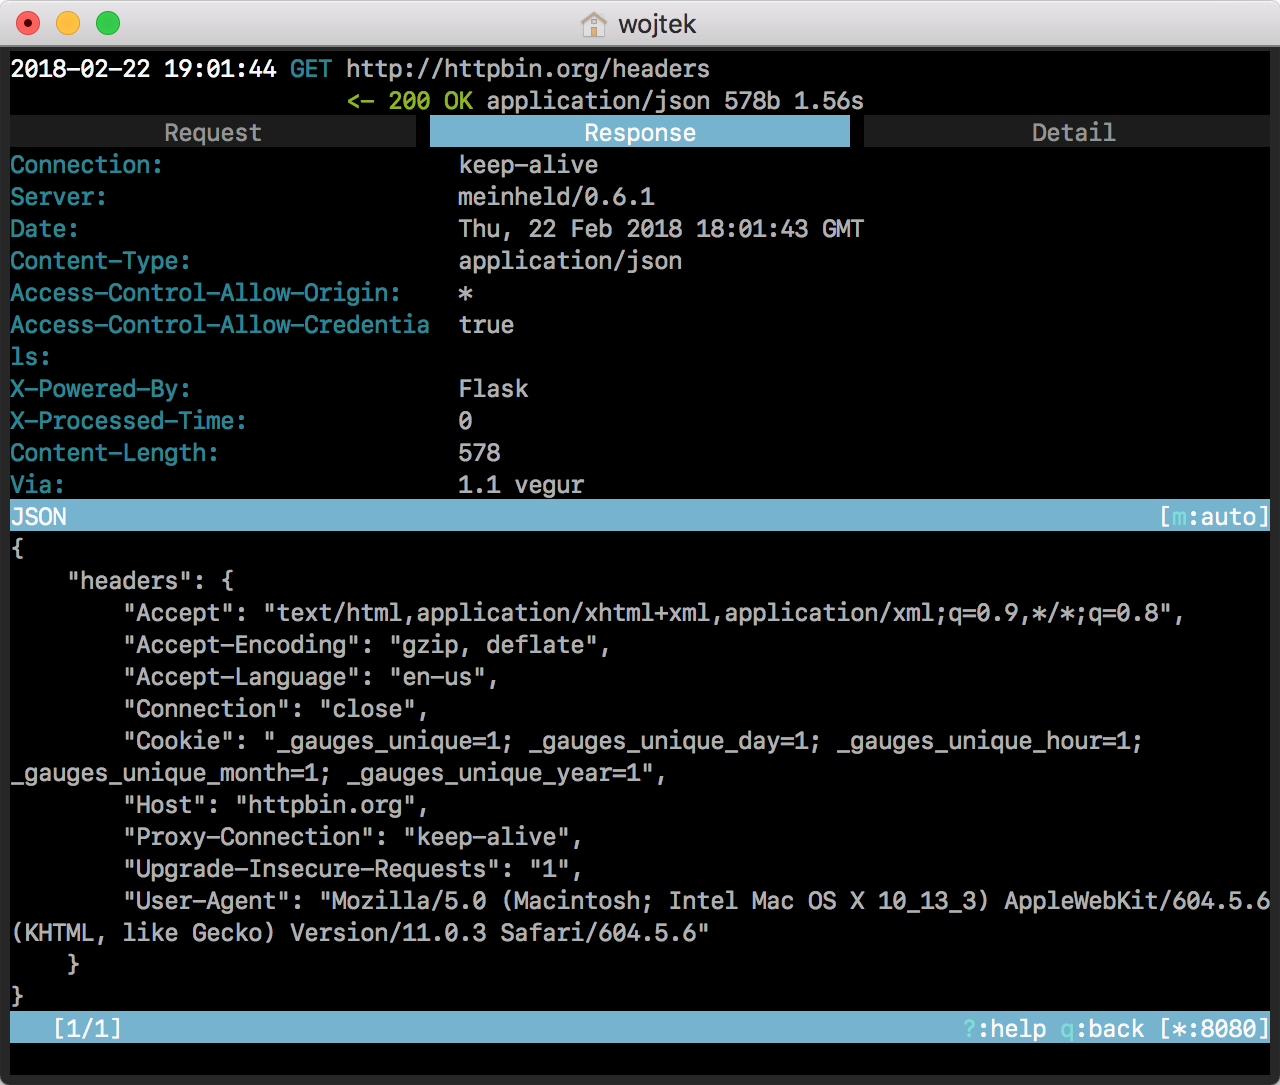
Hit enter to see more details. Navigate between tabs with h and l.
Root Certificate Authority on OSX
Any attempt to establish TLS connection will fail as mitmproxy uses certificate that is not trusted.
wojtek@MacBook:~$ nscurl https://httpbin.org/headers
Load failed with error: Error Domain=NSURLErrorDomain Code=-1004 "Could not connect to the server." UserInfo={NSUnderlyingError=0x7fd749d20ba0 {Error Domain=kCFErrorDomainCFNetwork Code=-1004 "(null)" UserInfo={_kCFStreamErrorCodeKey=61, _kCFStreamErrorDomainKey=1}}, NSErrorFailingURLStringKey=https://httpbin.org/headers, NSErrorFailingURLKey=https://httpbin.org/headers, _kCFStreamErrorDomainKey=1, _kCFStreamErrorCodeKey=61, NSLocalizedDescription=Could not connect to the server.}
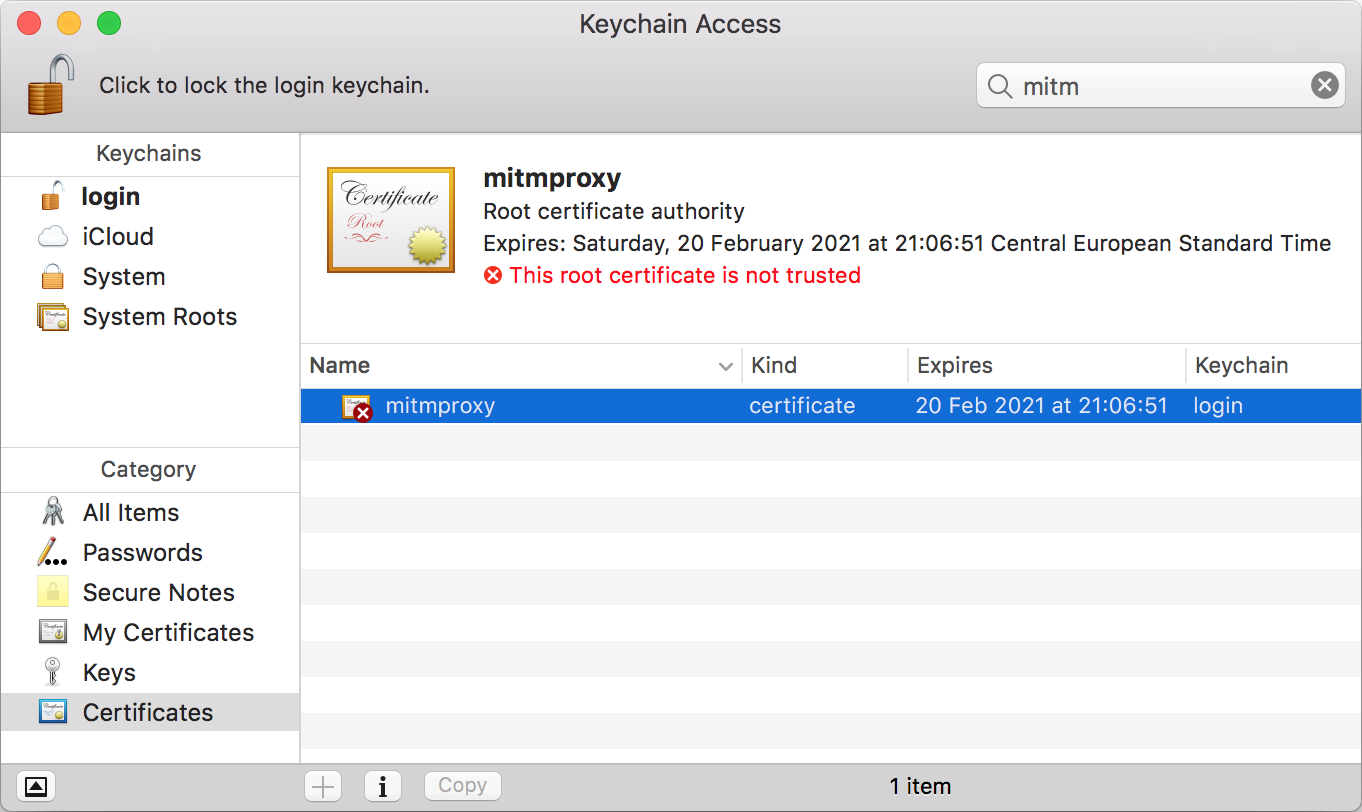
Install mitmproxy root certificate authority with drag and drop mitmproxy-ca.pem file onto your login keychain.
wojtek@MacBook:~$ ls -l ~/.mitmproxy
total 40
-rw-r--r--  1 wojtek  staff  1318 Feb 21 21:06 mitmproxy-ca-cert.cer
-rw-r--r--  1 wojtek  staff  2529 Feb 21 21:06 mitmproxy-ca-cert.p12
-rw-r--r--  1 wojtek  staff  1318 Feb 21 21:06 mitmproxy-ca-cert.pem
-rw-r--r--  1 wojtek  staff  3022 Feb 21 21:06 mitmproxy-ca.pem
-rw-r--r--  1 wojtek  staff   770 Feb 21 21:06 mitmproxy-dhparam.pem
Double click on it and select Always Trust in Trust section to trust it. HTTPS communication can be intercepted on your Mac now.
Root Certificate Authority on iPhone Simulator
The root certificate authority has to be installed on iPhone Simulator as it manages it’s own separate keychain. Drag and drop mitmproxy-ca.pem file on the simulator. After installing it you must specifically enable the root certificate in Settings > General > About > Certificate Trust Settings.
For more information refer to Technical Q&A QA1948.
